
Updated: October 26, 2026
Lighting and exposing every skin tone on a Miami shoot: key light, reflectance and mixed casts
Miami is one of the most diverse places in the country to point a camera. A single corporate video can feature a Cuban-American founder, a Haitian-American engineer, a Venezuelan sales lead and a Northern European client, often in the same frame. That is a gift for storytelling and a real technical test for the camera and lighting team. Cameras, auto exposure and many habits carried over from older workflows were built around lighter skin. When a crew does not think about it, darker skin comes out muddy or crushed, lighter skin burns out next to a window, and mixed groups end up with one person lit well and everyone else compromised. This guide covers the practical craft of lighting and exposing skin properly, whatever the tone, on location in South Florida.
Why skin tone is a technical question
Skin reflects light at very different rates. A person with deep brown skin may reflect a fraction of the light that a person with very fair skin reflects under the same lamp. Two things follow from that:
- Auto exposure averages the frame, so it pushes darker skin toward mid-grey against a bright background and pulls fair skin down against a dark one. Neither is correct.
- The dynamic range needed grows when two very different skin tones share a frame with a bright Miami window or a white wall behind them.
The fix is not a special camera. It is deliberate exposure, light placed with intent and a camera team that reads their monitoring tools instead of trusting the picture on a small screen in the sun.
Exposing for skin, not for the frame
Start by exposing for the face that matters most in the shot, using the camera's waveform or false color, not the LCD brightness. On a log profile, check your manufacturer's recommended exposure for skin and your grading plan; our guide to shooting in log and reading monitoring tools explains how to use them. A few rules hold for every tone:
- Deeper skin needs enough light to keep detail and color in the face. Underexposing it and "fixing it in the grade" adds noise and flattens the natural warmth and variation in the skin.
- Fair skin needs protection from clipping on the forehead, nose and cheekbones, especially with hard sun or a bright key.
- Look at the shadow side of the face, not just the key side. Detail there is what makes skin look three-dimensional.
- Take a frame with a grey card or color chart at each setup. It costs seconds and makes matching easy in post.
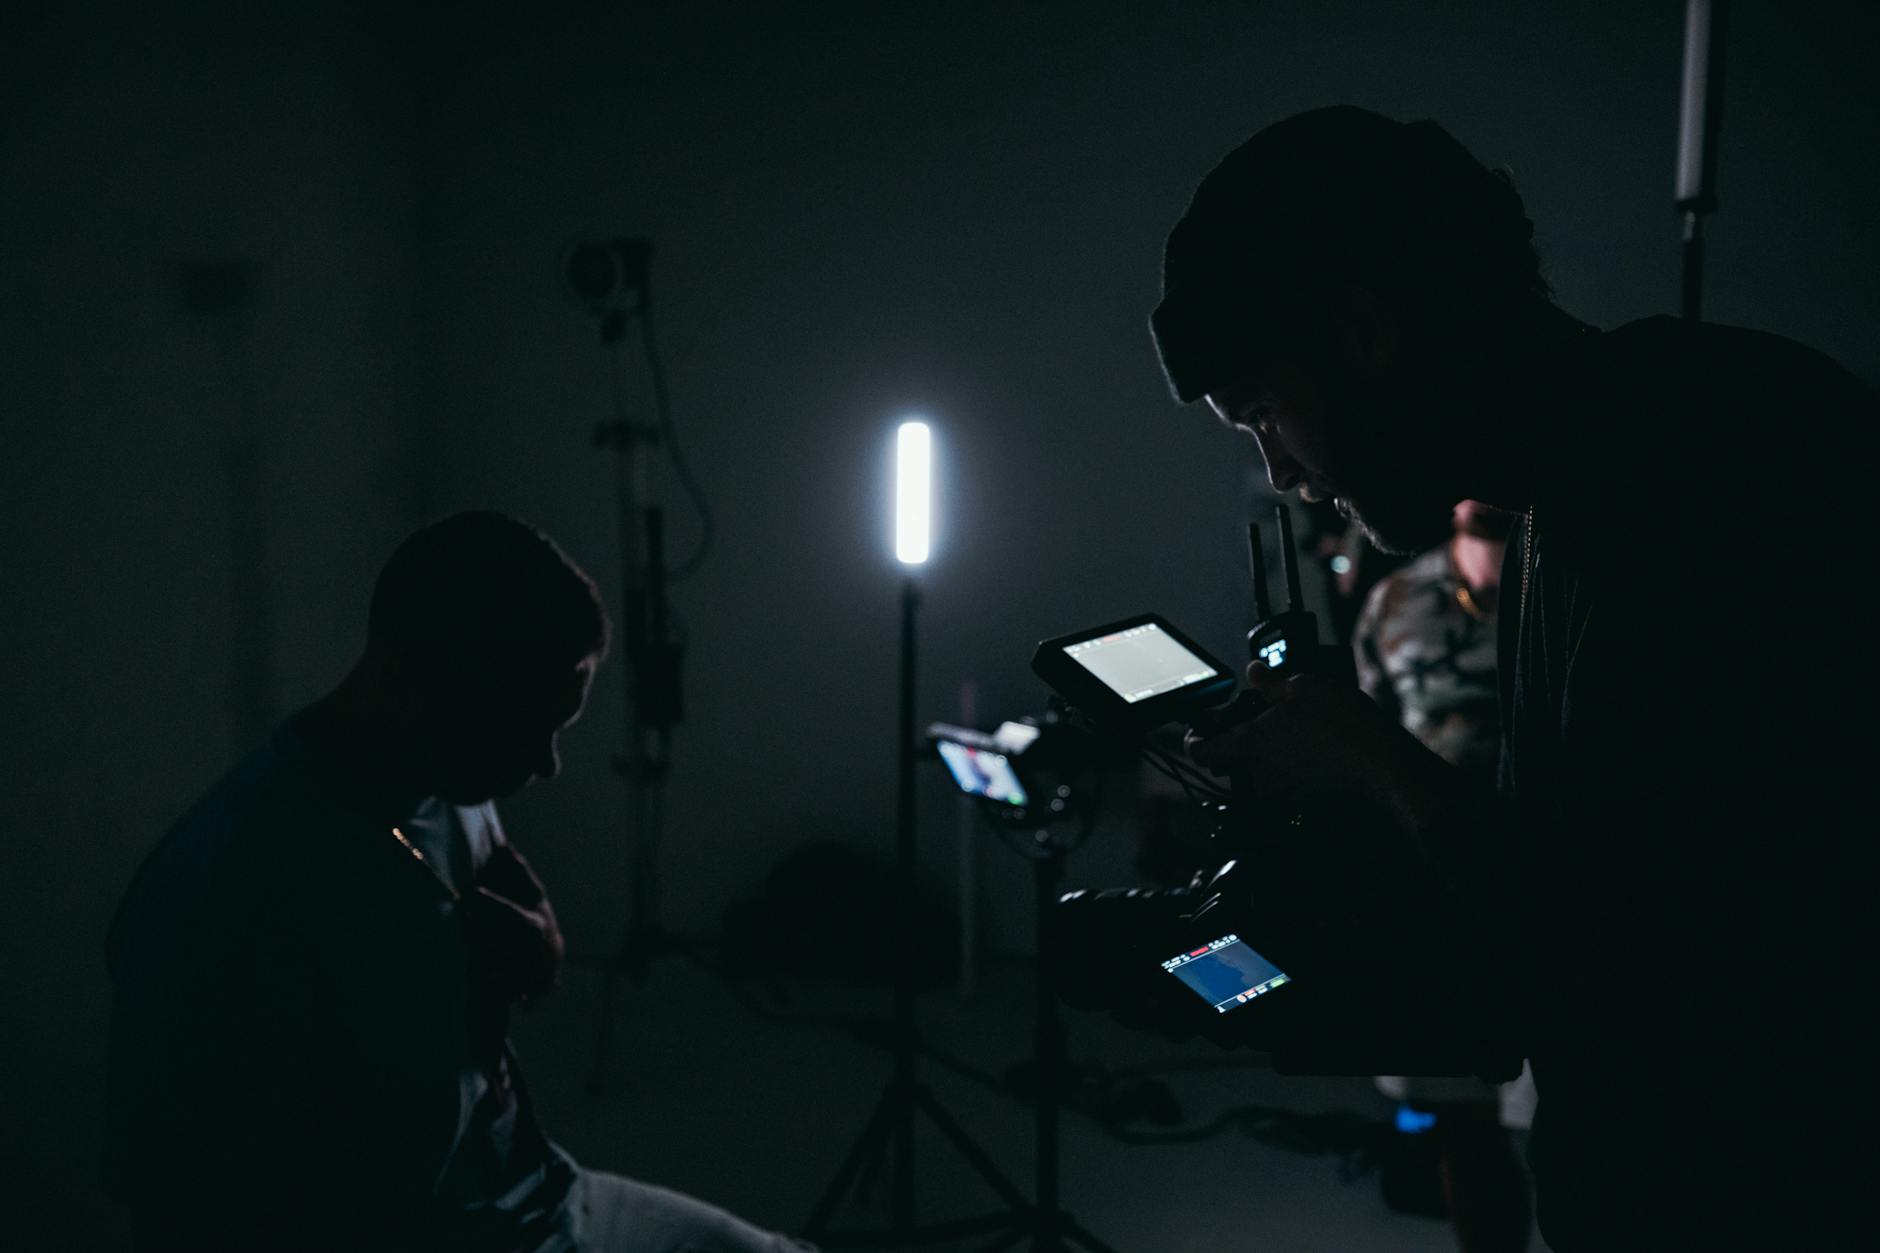
Lighting choices that flatter every tone
Size and softness of the key
A large, soft source flatters almost everyone, but it matters especially for skin with natural sheen. Deeper skin often shows highlights more strongly, and a small hard source can turn those into hot spots. A big diffused key close to the subject gives a smooth highlight with shape. Our article on lighting modifiers for interviews covers softboxes, bounce and diffusion in detail.
Specular highlights and humidity
Miami humidity makes everyone shine. A light touch of translucent powder from the makeup artist, a slightly larger source, or moving the key a little further to the side controls shine without flattening the face. A polarizing filter can reduce some reflections on skin, at the cost of light. Look at the highlight on the forehead and cheekbones between takes; it grows as the day heats up.
Color of the light
Skin is where poor light quality shows first. Cheap LED panels with low color rendering can push skin green or magenta, and the error is harder to correct cleanly in the grade on darker skin, where the color information is subtler. Use fixtures with high CRI and TLCI ratings, and watch for the environment adding its own color: green from palm fronds and lawns, warm bounce from sand and terracotta, cyan from pool water. Our guide to mixed colour temperature on location covers how to control these sources.
Lighting a group with different skin tones
The hardest setup is two or more people with very different skin tones in one frame, for example a panel, a two-shot interview or a team scene. A single key light for the whole group will usually be right for one person and wrong for the other. Options that work:
| Technique | How it works | When to use it |
|---|---|---|
| Separate keys per person | Each subject gets their own source set to a different intensity | Seated two-shots, panels, podcasts |
| Flags and nets | A single net or partial flag cuts light on the person who reflects more | Tight spaces, when adding a fixture is not possible |
| Positioning | Place the deeper-toned subject slightly closer to the key | Walk-and-talks, standing groups |
| Wardrobe and background | Avoid pure white or black clothing and very bright backdrops behind darker skin | Planned before the shoot with the stylist |
| Fill and negative fill | Add fill for detail on deeper tones, use negative fill to shape fairer tones | Interviews with contrast control |
Dimmable fixtures with accurate color at every intensity make this far easier. It is one of the reasons we prefer quality LED sources with smooth dimming to older fixed-output lights on interview days.
Daylight and windows in Miami
Miami offices are full of glass. A bright window behind a subject is the classic trap: expose for the view and the face is dark, expose for the face and the window blows out. For deeper skin tones the problem is larger, because the face needs more light to hold detail. Turn the subject so the window becomes the key or a side light, add ND gel or window film when you control the location, or bring the interior up with a strong soft source. Outdoors, harsh midday sun needs a large overhead diffusion frame, and the guide to ND filters and exposure in Miami sun covers the camera side.
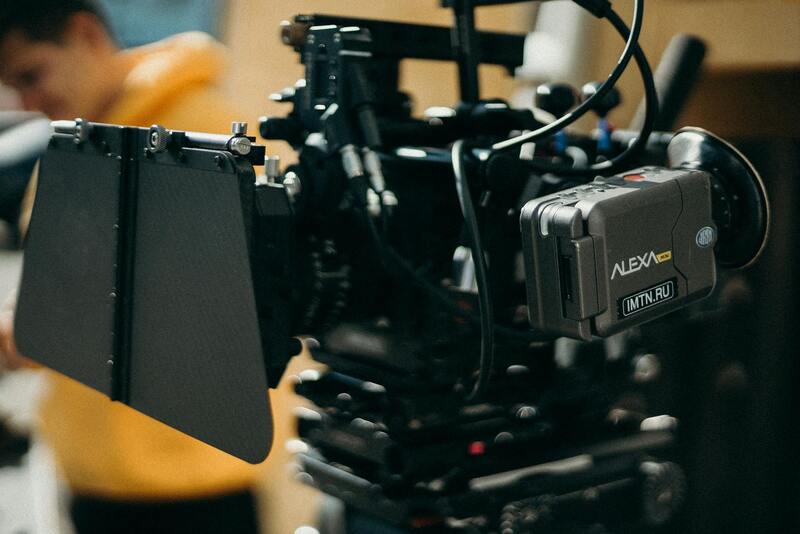
In the grade
A good grade builds on good exposure; it cannot invent detail that was never captured. The colorist will use the vectorscope skin tone line, which sits in roughly the same hue direction across human skin tones while brightness and saturation vary. Keep skin natural, avoid pushing every face toward the same brightness, and review the final grade on a calibrated monitor with representatives of the people on screen when you can. Our overview of color grading basics explains the process.
Our approach on Miami shoots
Our crews light for the people actually in front of the camera. On every interview and group setup we expose from the waveform, place separate keys when faces differ, use high-quality LED fixtures with accurate color, and shoot a chart for the colorist. We talk with stylists about wardrobe and backgrounds before the shoot so nothing fights the faces. If you are planning a video with a diverse team, a panel or talent from across the city, send us your brief through the contact page and we will suggest a lighting and camera package that makes everyone look like themselves. More about our team is on the about page.