
Updated: October 26, 2026
Shooting in Log and reading your monitoring tools
If you have ever pulled footage into the edit and found it looked flat, grey and lifeless, you may have been shooting in a Log picture profile without knowing how to work with it. Log is one of the most powerful tools in a cinematographer's kit, but it only pays off when you also know how to judge exposure using your camera's monitoring tools. Get both right and you capture footage with rich detail and huge flexibility in the grade.
This is technical craft, the kind that separates footage that merely records a scene from footage a colorist can shape into something beautiful. It is worth understanding before your next serious shoot.
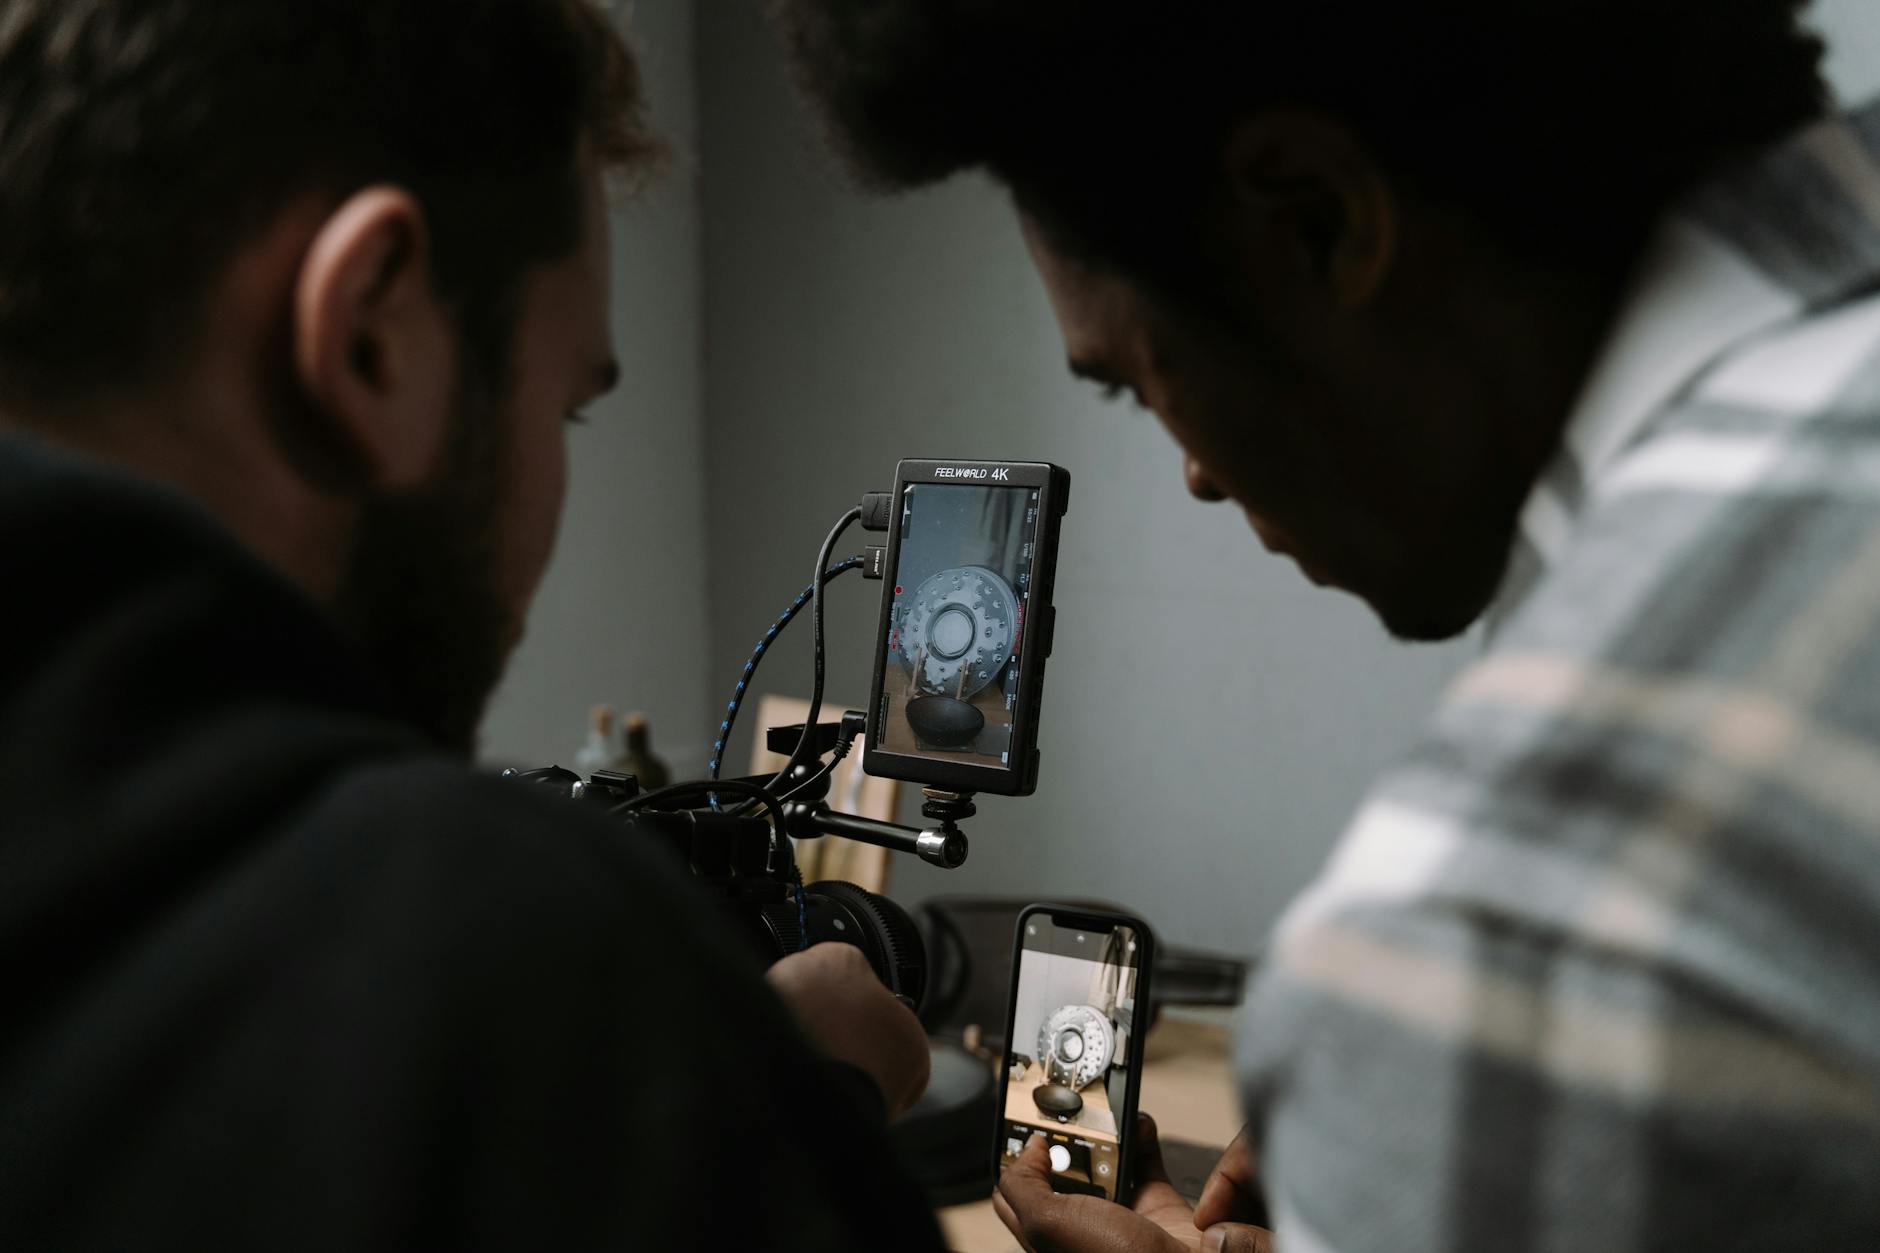
What Log actually does
A Log picture profile records a wider range of brightness, from deep shadows to bright highlights, than a standard profile. To fit all that information into the file, it stores the image flat and desaturated. That flat look is not the final product, it is raw material. In the grade, you expand that range back out, recovering detail in the sky and the shadows that a standard profile would have clipped. The benefit is real:
- More detail retained in highlights and shadows.
- Far greater flexibility to adjust color and contrast later.
- Better results in high-contrast scenes, which Miami's bright sun creates constantly.
That last point matters here. Shooting into strong Florida light, the extra range helps you hold both a bright sky and a shaded face. Pairing Log with the right filtration completes the picture, as our guide to ND filters and exposure in the Miami sun explains.
Why your eyes lie, and your tools do not
The catch with Log is that the flat image on your screen is a poor guide to exposure. Judging by eye, you will often get it wrong. This is where monitoring tools come in, giving you an objective read of your exposure rather than a guess:
- A waveform shows the brightness of your image as a graph, so you can see if highlights are clipping or shadows are crushed.
- False color assigns colors to brightness levels, making correct skin tone exposure easy to spot.
- Zebras stripe over areas that are too bright, warning you before you blow out a highlight.
Learning to read even one of these transforms your consistency. Correct white balance works alongside good exposure, as our guide to white balance and color temperature describes.
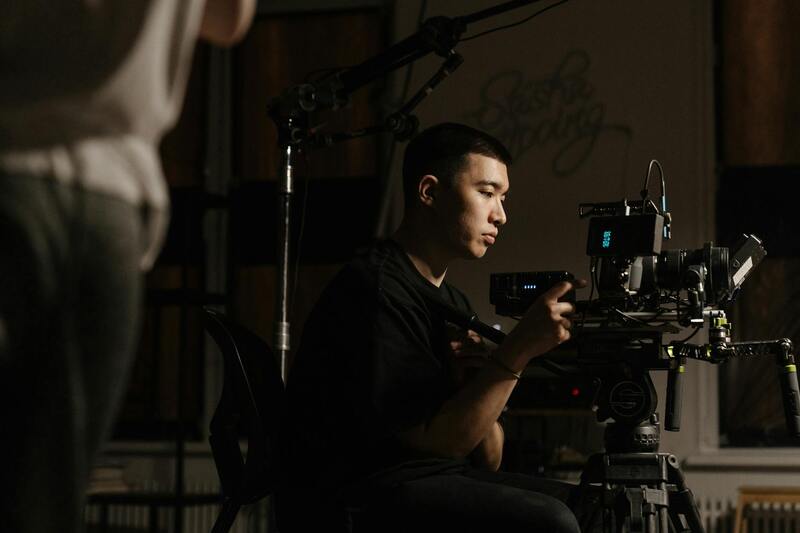
A practical approach on set
You do not need to master every tool at once. Start by using a waveform or false color to expose skin tones correctly and to keep your highlights from clipping. Many cinematographers deliberately expose Log a little brighter than normal to keep the shadows clean, then bring it back in the grade, but the safe habit is to protect your highlights first. Whatever camera you use, the monitoring tools work the same way, so the skill transfers across bodies, as our guide to the best cameras for video production reflects.
Capture the range, control the look
Shooting in Log gives you a wealth of detail to work with, but only when you expose it deliberately using your monitoring tools rather than your eyes. Learn to read a waveform or false color, protect your highlights, and Miami's demanding light becomes an asset instead of a problem. If you want help getting the most from your camera on your next shoot, explore our production blog or reach us through the contact page.