
Updated: October 26, 2026
Why is the footage orange on one side and blue on the other?
You conduct an interview at a Brickell office. The subject sits near a window. Overhead, there are fluorescent panels, and you have brought a small LED light for fill. Everything looks fine on set. However, in the edit, one side of their face appears blue, the other side is faintly green, and the wall behind them is a color that nobody can name.
Nothing was broken. The room had three light sources, each emitting a different color. The camera can only be instructed to identify one of these colors as white. Understanding color temperature is what prevents this. Miami, in particular, is known for producing more mixed-light situations than most other places.
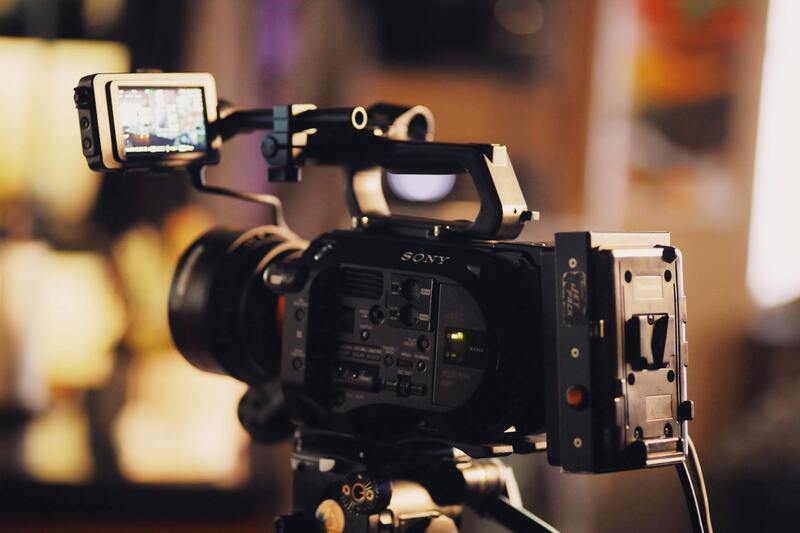
Light has a color, and your eyes can deceive you about it.
All light has a color temperature, measured in kelvin. Lower numbers correspond to warmer, more orange tones, while higher numbers indicate cooler, more blue tones. Counterintuitively, the higher the number, the bluer the light.
Rough anchors worth knowing:
- A candle flame, which is around 1,900K, appears deep orange.
- Tungsten bulbs, around 3,200K, warm.
- Sunrise and sunset, around 3,000K, offer a warm and quickly shifting light.
- The midday sun, at around 5,600K, is the standard for daylight.
- Overcast sky, higher again, cooler.
- Open shade under a blue sky, with a distinctly blue hue.
Your eyes and brain automatically correct all of these issues. A white shirt appears white both indoors under a lamp and outdoors at noon, despite the light being significantly different. The entire issue lies in how your perception has already fixed something that the camera records faithfully.
So the camera is not wrong when footage appears orange. It is simply recording what was actually there. You just did not perceive it that way.
What white balance actually does
White balance tells the camera which color to treat as neutral. Setting it to 3,200K tells the camera that the light is warm, so it adds blue to compensate. Conversely, setting it to 5,600K tells the camera that the light is like daylight, so it adds warmth.
Getting this wrong can lead to significant errors. For example, shooting a daylight scene with a tungsten setting produces heavily blue footage. Conversely, shooting a tungsten interior with a daylight setting produces heavily orange footage. Both issues are recoverable to some extent, but neither is free. You are fixing something that never needed to be broken.
Auto white balance and why it fails
Auto white balance analyzes the frame and makes guesses. It is usually approximately right but is inconsistent, which is worse than being consistently wrong.
The failure mode is drift. As your subject moves, a car passes behind them, someone in a red shirt walks through the frame, and the camera re-evaluates. This causes the color to shift mid-shot. A single wrong-but-stable setting can be fixed with one adjustment. However, a shot that drifts through three different balances cannot be fixed with one adjustment. Matching it to the shot before becomes a challenging task.
Set it manually, and it will stay in place. This is the single most useful feature in this entire area.
Mixed light is the real Miami problem
The challenge here is not usually due to a single incorrect setting. Instead, the issue arises when a location has multiple light sources with different color temperatures operating simultaneously. As a result, there is no single correct answer.
| Situation | Conflict | Usual approach |
|---|---|---|
| Office near a window | Daylight against overheads | Kill the overheads, light for daylight |
| Restaurant interior | Warm practicals against daylight doors | Match your lights to the practicals |
| Hotel lobby | Several sources, all different | Overpower locally with one source |
| Sunset exterior | Temperature changing by the minute | Fixed balance, shoot fast |
| Poolside midday | Sun plus blue bounce off water | Balance for sun, flag the bounce |
The first row is the most common brief in Miami corporate work, and the answer often surprises clients. Turning off the office lights can make the room look worse to the eye, but footage looks far better. This is because now there is one color of light instead of two.
The poolside row is a local specialty. Water bounces a lot of sky into the underside of faces, and the sky is blue. You can balance for the sun and accept the blue fill, or you can bounce warm light back and neutralize it. What you cannot do is fix one side of a face separately from the other later on.
Gels, and why they still exist
The traditional approach is to ensure all your light sources match. For example, you can place an orange gel on a daylight-balanced light to adjust it to tungsten, or use a blue gel on a tungsten light to adjust it to daylight. These physical filters perform color conversions in front of the lamp.
Modern bi-colour LEDs let you dial a temperature directly, and that has made the small gel kit less necessary than it once was. It has not eliminated it, because you cannot dial a setting into the sun or into the building's existing fixtures. When the light you need to match is not yours, gel is still how you match it. Our note on the gear rental checklist covers what to have on the truck.
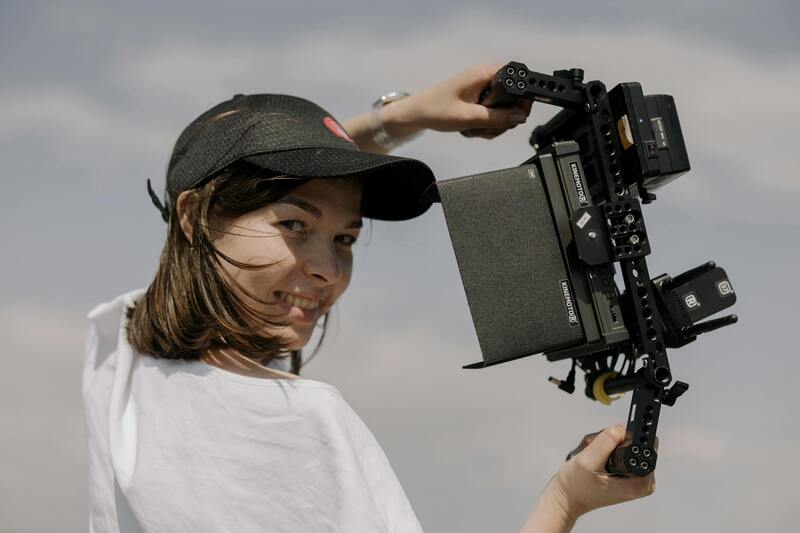
Setting it properly on the day
The reliable method takes fifteen seconds. Place a grey card or a white card in the same light as your subject. Fill enough of the frame with the card, and set a custom white balance from that. The camera now knows exactly what neutral looks like under this specific light, rather than under a preset that approximates it.
Do it again when the light changes. Not when you move the camera, but when the light changes: entering a new room, a cloud passing by, a lamp being switched on, or the sun setting. Each of these scenarios represents a different lighting condition, and the old balance no longer applies because the situation has changed.
A few habits that save the edit:
- At the beginning of each setup, shoot a few seconds of a grey card. It is a reference the colorist can use.
- Make a note of your current setting. This will help you understand what has changed if you rebalance later.
- Maintaining the same balance across all cameras on a multi-camera shoot is essential, or matching them can be a difficult task.
- Do not rebalance between takes of the same scene unless the lighting actually changes.
What changes in the shooting log, and what remains unchanged?
A common belief is that shooting in log or raw format makes white balance irrelevant, as it can be adjusted later. While this is partly true, it can be dangerous to rely on it as a working assumption.
With raw files, the white balance is stored as metadata, allowing you to adjust it later with minimal impact. With log files, you have more flexibility compared to a fixed profile, but this flexibility is not unlimited. The sensor captures what it captures, and excessively adjusting a poorly balanced image can introduce noise and color artifacts in areas where they are least desirable.
More practically: getting it right on set means the monitor shows something close to the intention, so the DP is judging the actual image rather than imagining a corrected one. And it means mixed lighting gets solved at the source, where it can be solved, instead of being handed to a colourist who cannot separate two colours of light falling on one face. Our note on colour grading basics covers what happens downstream.
Fix it at the source
We manually set the white balance, use a card as a reference, and treat mixed lighting as a lighting issue rather than a post-production problem. This approach is not about perfectionism; it's about recognizing that certain errors can't be corrected, regardless of budget.
If your location features a wall of windows and a ceiling filled with fluorescent lights, it is worth knowing that during the scouting process rather than discovering it at 9am. Often, the solution is straightforward and needs to be decided while there's still time to bring the appropriate gel or the right lighting equipment.
You can see how we work on our about page, and our guide to monitors and on-set setup covers how to judge this accurately while shooting. Bring us your location through the contact page, and mention the windows.