
Updated: October 26, 2026
The most costly mistake is the one you can't see on a small screen.
A soft shot appears fine on the camera's rear display. It looks acceptable on a laptop. However, it becomes unmistakably clear on a large screen in a boardroom, or on a phone held close in good light. By then, the shooting session is over, and the subject returns to their regular work.
Focus is unforgiving in a way that exposure and color are not, because there is no recovering it afterwards. This guide covers how depth of field actually behaves, when autofocus is the right tool and when it is a liability, how manual focus is handled on set, and the specific issues that arise during Miami shoots.
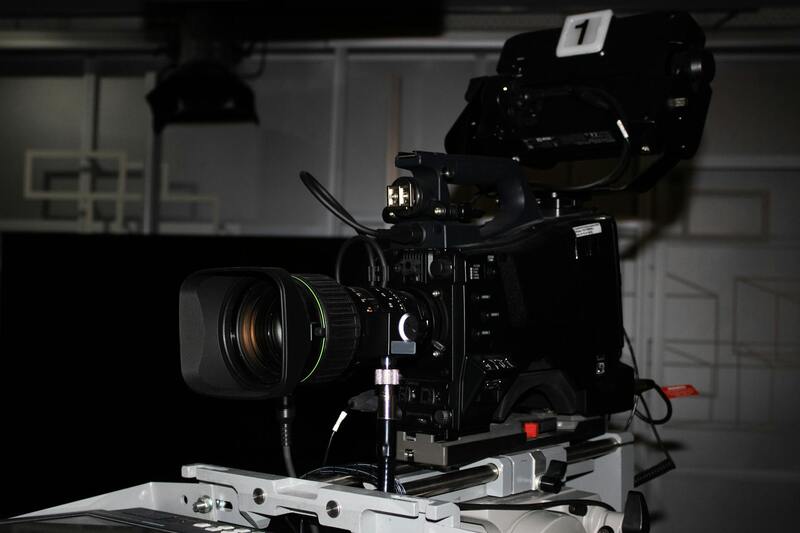
Depth of field, practically
Depth of field refers to the area in front of and behind your subject that appears acceptably sharp. Three factors control it:
- Aperture. A wider aperture, meaning a smaller f-number, gives a shallower zone. This is where the cinematic separated look comes from, and also where the risk lives.
- Focal length. Longer lenses appear to compress the zone, which is why a tight interview shot on a long lens is far less forgiving than a wide.
- Distance to subject. The closer you are, the shallower it gets. This is the factor people forget.
The practical consequence is that a tight shot on a fast lens, taken close to the subject, can produce a zone of sharpness measured in centimeters. If the subject leans forward to make a point, they move out of this sharp focus. Conversely, if they lean back to think, they move out of focus the other way.
Choose your aperture based on the situation, not just for the desired look.
There is a strong pull toward shooting wide open because the images look expensive. It is worth resisting on certain shots. If your subject is unrehearsed, moves while talking, or is being filmed on a single take that cannot be repeated, stopping down a stop or two buys margin that costs you very little in appearance and saves the shot.
Reserve the shallowest work for controlled setups where the subject is marked, rehearsed and stationary. Managing exposure while doing this in Miami's light is covered in the article on ND filters, exposure and glare.
Autofocus or manual
Modern autofocus with subject detection is genuinely excellent, and dismissing it is outdated. However, it is not always the best choice.
Where autofocus earns its place
- Documentaries and run-and-gun work involve unpredictable events.
- In a single-operator setup, no one is free to pull focus.
- Gimbal work involves the operator managing movement and framing.
- Events where subjects move and no second takes are allowed.
- Straightforward interviews where the subject remains in one place.
Where it becomes a liability
- When someone moves between the camera and the subject, the system follows them.
- When you want focus somewhere other than the nearest face, for creative reasons
- When a deliberate focus transition is part of the shot, it is not considered an automatic rack pull.
- Through glass, foliage, or any other object the system might lock onto instead.
- In low contrast or low light conditions, where hunting becomes more visible.
On most professional shoots, the practical approach is to use autofocus where it is most effective, and to switch to manual focus for more controlled setups. Rather than committing to one mode for the entire day, photographers can adapt their focus technique to meet the specific needs of each shot.
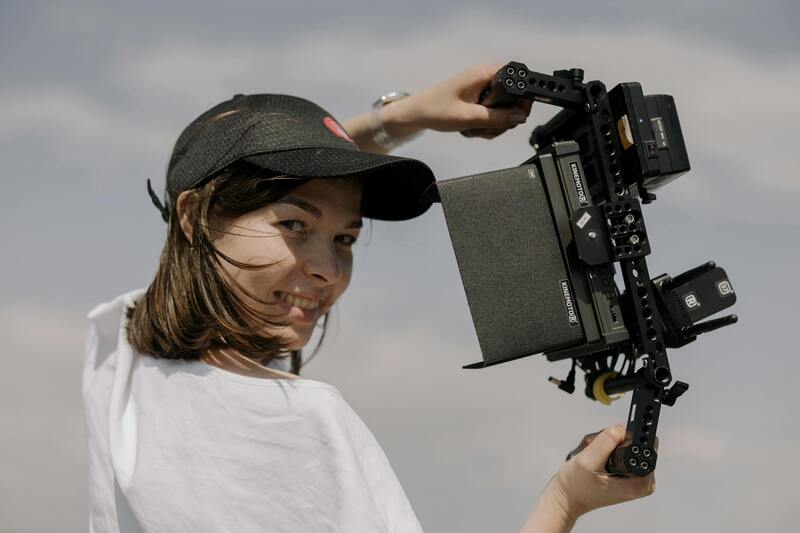
Working manual focus properly
If you are pulling manually, the technique is more procedural than intuitive.
- Mark the positions. Tape on the floor for the subject, marks on the lens barrel for each focus point. Rehearse the move.
- Use peaking and magnification to set, then turn magnification off before rolling, since you need the full frame.
- Check focus at the start of every take, not just at the start of the setup. Cameras get bumped and subjects drift.
- Watch the eyes. On any shot of a person, the near eye is the reference. If it is sharp, the shot works.
- Pull to where the subject will be, not where they are, if they are moving.
- Give yourself a monitor big enough to judge on. A small camera screen in bright sun is not a focus tool.
That last point is particularly important in Miami. Outdoors at midday, a rear screen is barely legible, making it nearly impossible to judge critical focus accurately. In such conditions, having a shaded monitor or a loupe is not a luxury but a necessity for outdoor shoots here.
What goes wrong specifically at Miami shoots?
Heat shimmer. On long lenses across hot ground, mid-afternoon air distorts the image in a way that looks like soft focus and cannot be fixed by refocusing. The answer is to shorten the distance, shoot earlier or later, or accept it as a look.
Lens fogging. Moving from an air-conditioned vehicle or building into humid outdoor air fogs the front element within seconds. Let the lens acclimatise before rolling rather than wiping it repeatedly, since wiping a fogged lens just moves the moisture around.
Bright backgrounds and contrast. Autofocus systems perform differently against a blown-out sky or reflective water, and can hunt in situations where they would be reliable indoors.
Sunglasses. Face and eye detection is less reliable when the eyes are covered, which comes up constantly on outdoor shoots here. Plan for manual on those setups.
Checking focus before you move on
Integrate this into the routine at every setup, as it is the only reliable protection.
- Play back a portion of the take on the largest available monitor.
- Magnify on the subject's near eye
- Check both the beginning and the end of the take, as drift can occur.
- If there is any doubt, it's better to shoot another take rather than deciding later.
Thirty seconds of checking against the cost of a reshoot is not a close call. Related on-set discipline around footage is covered in the article on codecs, cards and on-set data, and gear planning in the gear rental checklist.
How we approach it
We tailor our focus method to the setup rather than the shoot itself. We utilize autofocus where it is genuinely more reliable, and manual focus where precise control is essential.
For outdoor work, we bring a monitor that can be accurately judged in Miami's sunlight. This is because critical focus cannot be assessed on a rear screen at midday. We check the playback magnified on the eye at every setup before releasing it. Additionally, we shoot a safety take when a shot is unrepeatable.
Tell us what the shoot involves and where it is happening, and we will scope the camera department accordingly. More technique in the production blog, or get in touch through the contact page.
The short version
Depth of field narrows with wider apertures, longer lenses and closer subjects, and it gets thin enough that a subject leaning forward leaves it. Stop down when the subject is unrehearsed or the take is unrepeatable. Use autofocus for unpredictable work and manual for controlled setups with marks and rehearsal. Judge focus on a monitor you can actually see, and check magnified playback on the near eye at every setup.
Let the lenses acclimatize before rolling. In this humidity, doing so alone saves a take or two every shoot day.